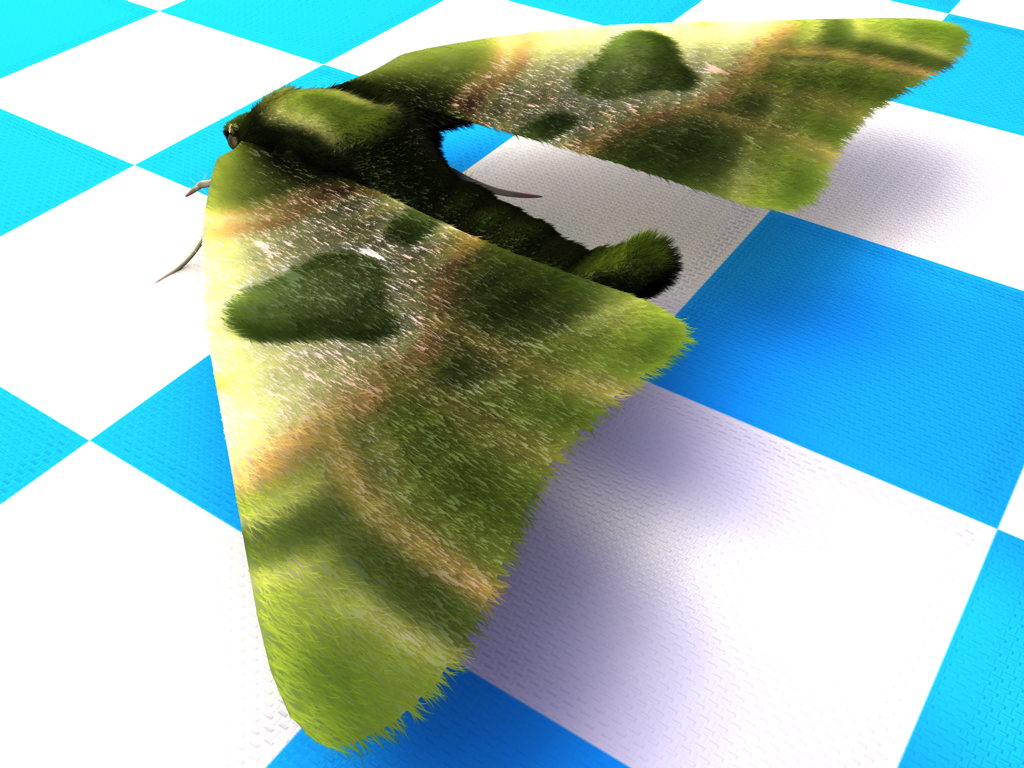
Includes Blender file(Without eyes and hair).
Tag Archives: 3D
Creating 3D models(And some life story)
 (Click picture for wallpaper!)
I got really inspired watching time-lapse videos of people creating 3D assets so I decided to model, rig and texture a 3D model for real, i.e. extruding, cutting, welding, UV mapping by hand and carefully skinning the model. This is my first real attempt at creating a 3D model.
Save Us, Unity3D vs GameMaker comparison
I’m still early in the process of porting an old game from GameMaker to Unity3D. I thought I’d compare them graphically, since I’ve reached a point where most of the 3D modeling is done.
Overall I think going full 3D adds a little immersiveness to the game and makes everything look a little nicer, while I loose a bit of aesthetic, but that’s purely because of my lack of skill with 3D modeling. In any case, porting to Unity3D will make me able to make Save Us into a browser game, thereby reaching a larger audience.
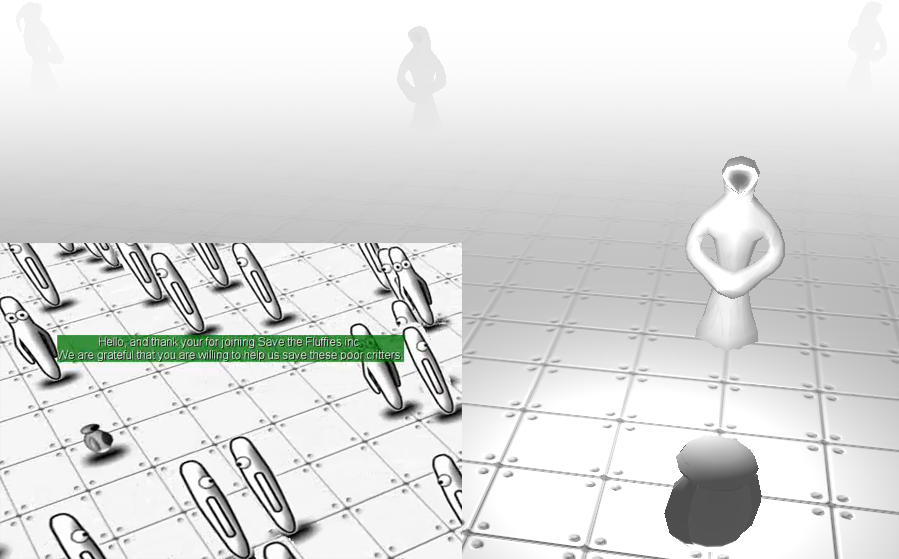
I think this scene made it out the best. Because of the bad graphics and stupid looking characters, the atmosphere was completely broken in the old version. The new version has a much creepier feel to it. You can’t see it in the picture, but imagine the cloaks of the characters flailing gently in the air. I wish I could’ve done a better job of modeling and texturing them though.
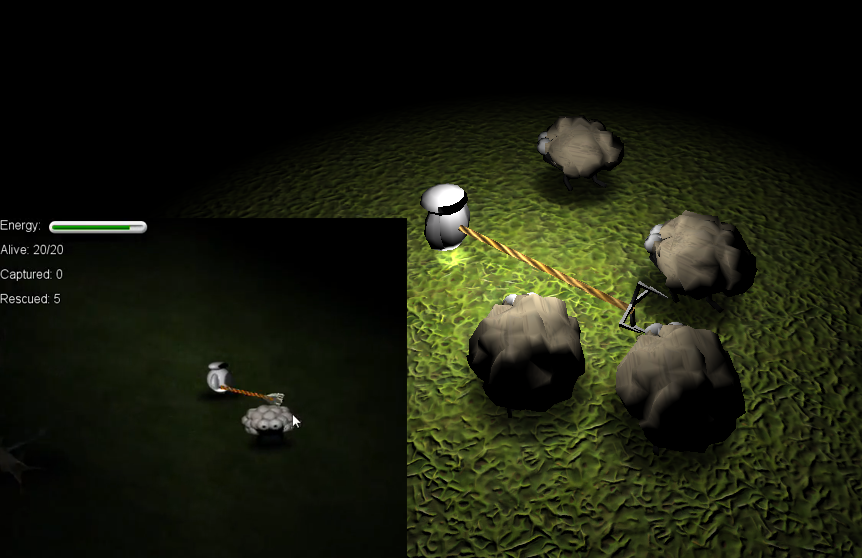
The old version was more stylized here. I had more control since everything was just 2D sprites. The sheep don’t look nearly as good in the new version and I’m not sure if the intensity of the grass in the new version is too high. In any case, the aesthetic could probably be saved by a fullscreen shader, which I can’t utilize unless I pay 1500$ for Unity Pro. On the plus side the claw is way more awesome now, it’s really come alive because of its animations. I really need to add a hatch to the robot.
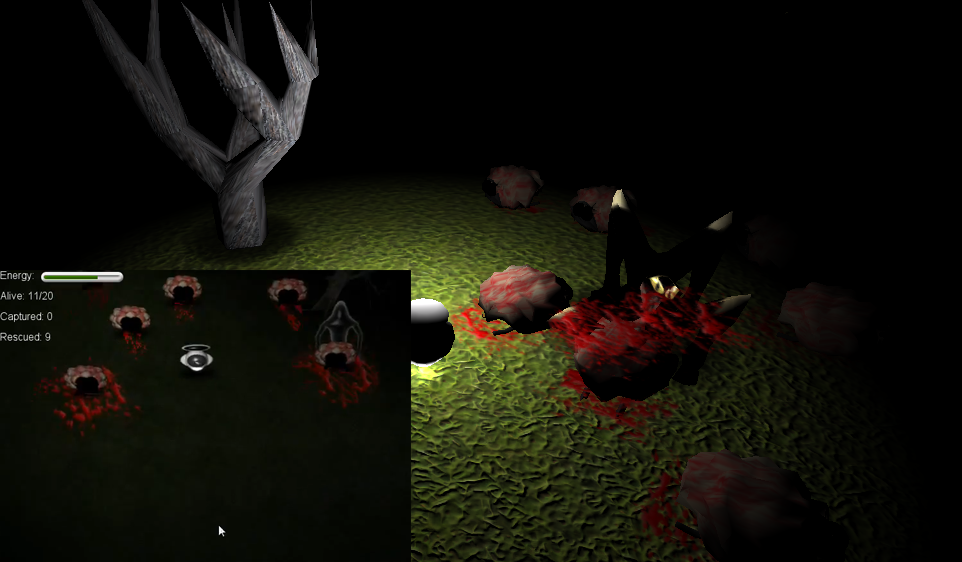
I completely re-did the bad guys. In the old version they had a genie like shape; floating in the air with a tail thing. I did that so I wouldn’t have to render an animated walk cycle from 8 different angles. This is not a problem in the new version, so I made them four legged with inverted knees on the back legs for added creepiness.
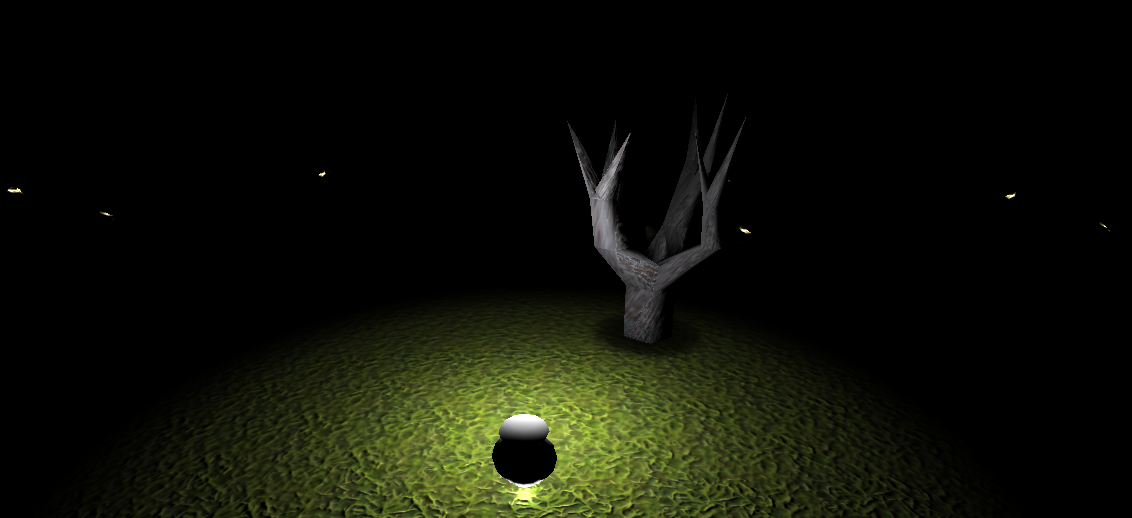
I really like this screenshot. The yellowish dots are eyes; I made a shader with an emissive texture so that the eyes of the bad guys glow in the dark.
Fresnel shader in Unity(With source)
I was just messing around with shaders in Unity while working on a game. I’ve never really tried making a shader before because I feel the math is intimidating, but it is actually pretty simple once you get into it. I’ve always liked the fresnel effect; it looks cool for microbiological illustrations and it’s nice for highlighting stuff.
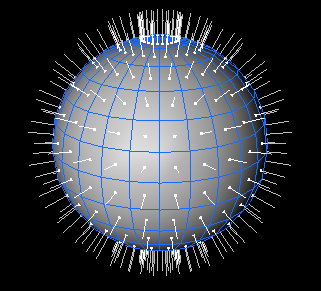
The way it works is that you take the dot product of the direction vector of the camera and the normal of the current pixel being rendered on the model(See picture below). The dot product will go from 1 to 0(assuming that we’re dealing with unit vectors(we are)) the closer these vectors are to being perpendicular and the closer these vectors are to being perpendicular the closer the pixel is to the edge of the model being rendered in relation to the camera. You then take the inverse of the dot product, i.e. 1 – (cameraDirection · normal), and you multiply it with the color you want. The color then gets more intense the closer you get to the edge of the model, as you can see in the picture above. If you add a bump map to this, the surface normals get distorted and the fresnel effect distorts with it, which looks really cool as you can see in the bottom two spheres on the right, in the picture above.
Anyway, feel free to use it in your own projects as much as you want, link in the comments if you wanna show off something you’ve made with it. Here’s the source:
Shader "Custom/FresnelShader" {
	Properties {
	 	_Shininess ("Shininess", Range (0.01, 3)) = 1

	 	_MyColor ("Shine Color", Color) = (1,1,1,1)

		_MainTex ("Base (RGB)", 2D) = "white" {}

		_Bump ("Bump", 2D) = "bump" {}

	}
	SubShader {
		Tags { "RenderType"="Opaque" }
		LOD 200

		CGPROGRAM
		#pragma surface surf Lambert

		sampler2D _MainTex;
		sampler2D _Bump;
		float _Shininess;
		fixed4 _MyColor;

		struct Input {
			float2 uv_MainTex;
			float2 uv_Bump;
			float3 viewDir;
		};

		void surf (Input IN, inout SurfaceOutput o) {
			half4 c = tex2D (_MainTex, IN.uv_MainTex);
			o.Normal = UnpackNormal(tex2D(_Bump, IN.uv_Bump));
			half factor = dot(normalize(IN.viewDir),o.Normal);
			o.Albedo = c.rgb+_MyColor*(_Shininess-factor*_Shininess);
			o.Emission.rgb = _MyColor*(_Shininess-factor*_Shininess);
			o.Alpha = c.a;
		}
		ENDCG
	}
	FallBack "Diffuse"
}
Save Us, Unity3D remake
I’m currently in the process of converting my old competition game to a full 3D browser game using Unity3D.
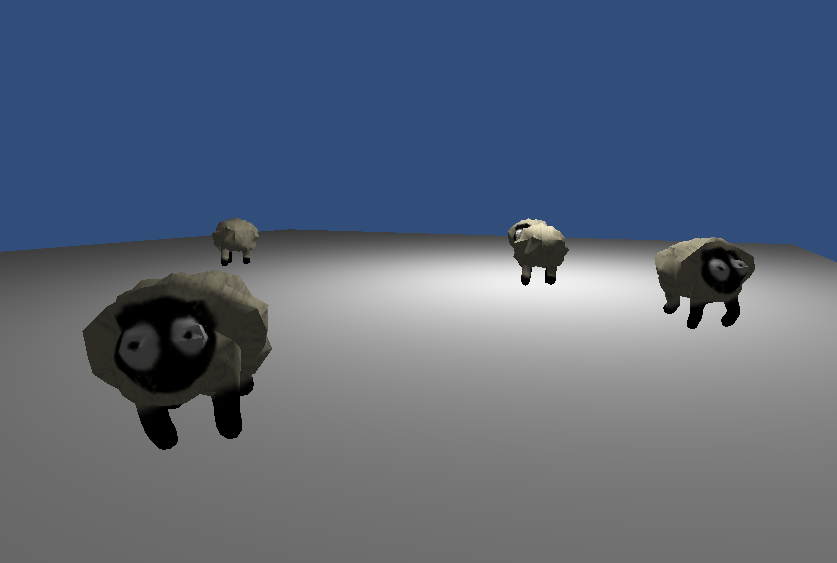
Checking if importing in unity is easy(It is) and trying out some basic behavior for the sheep things(Walk to a random point, when you get there: Choose a new point. Obstacle? Choose a new a point). And yes, I’m well aware of the fact that they are extremely creepy.
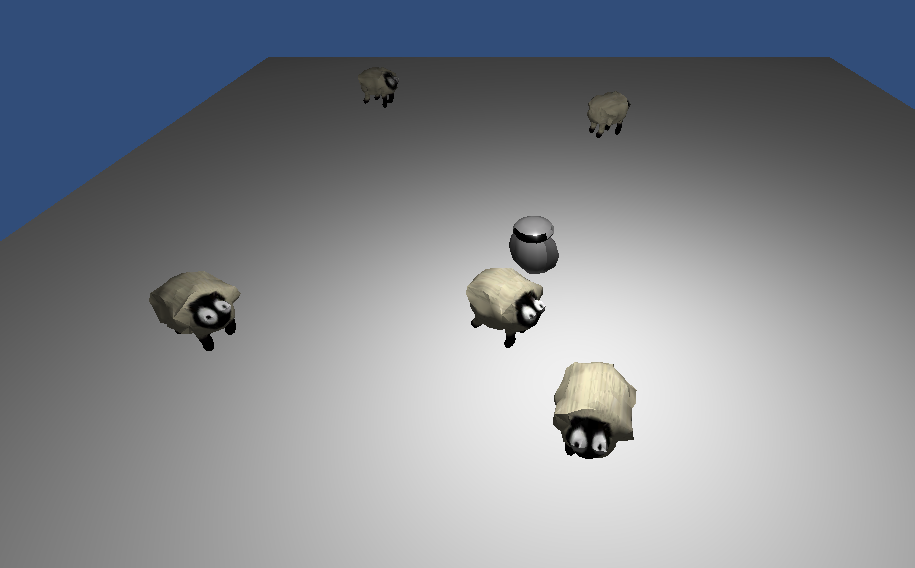
Adding the player(Robot thing) and setting up the top-down camera with look. I read that you can use curves, specifically AnimationCurve, as a public variable in Unity and Unity will provide a curve editor! I used this to make a hover effect for the robot by changing the y-position with a smooth curve thereby making it bob. I read it from this post from SauropodStudio(Looking forward to Castle Story).
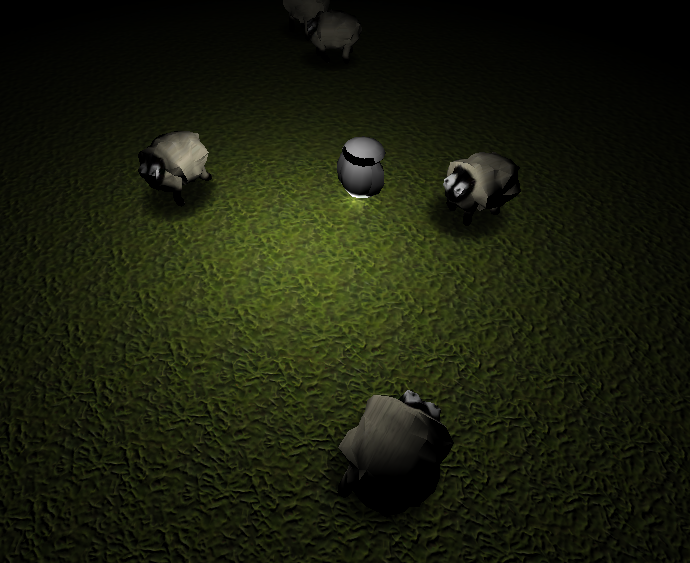
Attached two lights to the robot(Second one at the feet for hover effect) and updated floor texture. Also, notice how much the shadows add to making it look like the sheep are more grounded, and not just added to the background. It’s just a 2 polygon square, 0.01 units above the ground, with a black gradient circle texture:

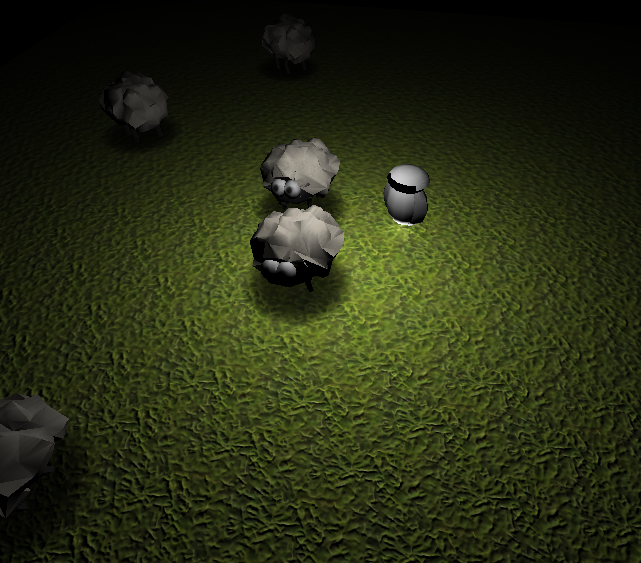
Re-did the sheep things, or rather, I spent a huge amount of time merging and welding polygons from the old sheep(From the first Save Us game) to make a new sheep with a single textured and rigged surface. Since they were only gonna be rendered to a sprite, the old sheep consisted of hundreds of high polygon spheres, I had to degrade the quality a lot for performance. They are less frightening but jaggy, but I fixed that in the next picture using some phong shading(Bascially checking a box in Unity).
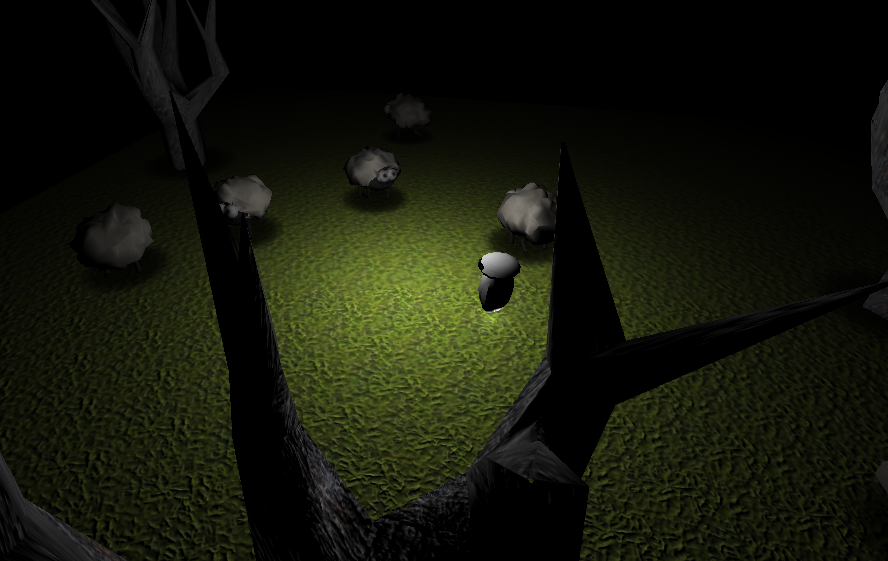
Added trees, sadly not my own generated ones, since it was quicker to just create a new one with splines rather than writing an export function for my tree generator(Well, probably not). I should just port the tree generator to Unity since they’re both C#! Great idea me 😀
Procedurally generated tree(With source)
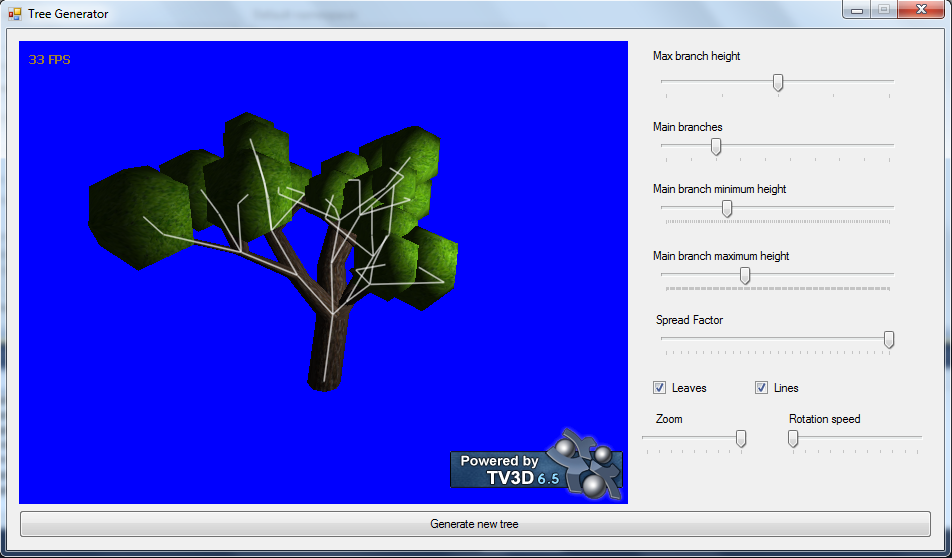
I was bored one day so I sat down and tried making a random tree generator. Essentially it’s extremely simple, you basically have this:
struct Tree
    {
    int x, y, z;
    float radius;
    Tree[] subTrees;
    }
It’s a root which defines a point in R3, a thickness and branches connected to it. From this structure I can generate a tree by recursively traversing the structure, building cylinders as I go:
AddCylinder(int x1, int  y1, int  z1,
            int  x2, int  y2, int  z2,
            float w1, float w2, 3DModel model)
    {
    //Construct cylinder from (x1,y1,z1) with raidus w1 to (x2,y2,z2) with radius w2
    //Add cylinder to model
    }

BuildTree(Tree node, 3DModel model)
    {
    foreach(Tree subTree in node.subTrees)
        {
        AddCylinder(node.x, node.y, node.z,
                    subTree.x, subTree.y, subTree.z,
                    node.radius, subTree.radius, model);
        BuildTree(subTree, model)
        }
    }
The interesting part of all this is finding an algorithm which generates cool trees. My algorithm was kind of half-assed, I have a much better idea now than I did when I was motivated to implement it. I was thinking of having three cases and then choosing between them: “Stop here”, “Continue growing” or “Branch out”. Then it would be a simple problem of choosing what would be best at any given time. My current algorithm is implemented like “I just want to see if it works”.
(Note that the “leaves” are icosahedrons stolen from my first post)
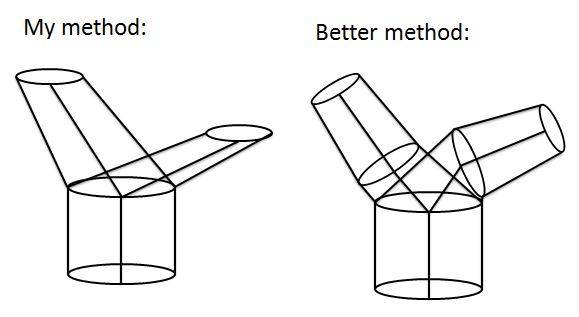
As you can see the approach I have to constructing the cylinders is not as great as it could have been. The ends are always on an XY plane, or aligned with the floor. I could’ve rotated them so they were facing the direction they’re growing in and then connected them with an extra cylinder at each node:
The generator has the potential of building really realistic trees by adding a lot more small branches and adding a lot of small leave sprites instead of big spheres added to the end of each branch.
It’s written in C# using .NET 3.5 and TrueVision3D(DLL included). Here’s the source:
Download Here
File: TreeGen.rar
Contents: C# Solution and TrueVision3D assembly.
Size: ~4.5 MB
Subdivision of icosahedrons
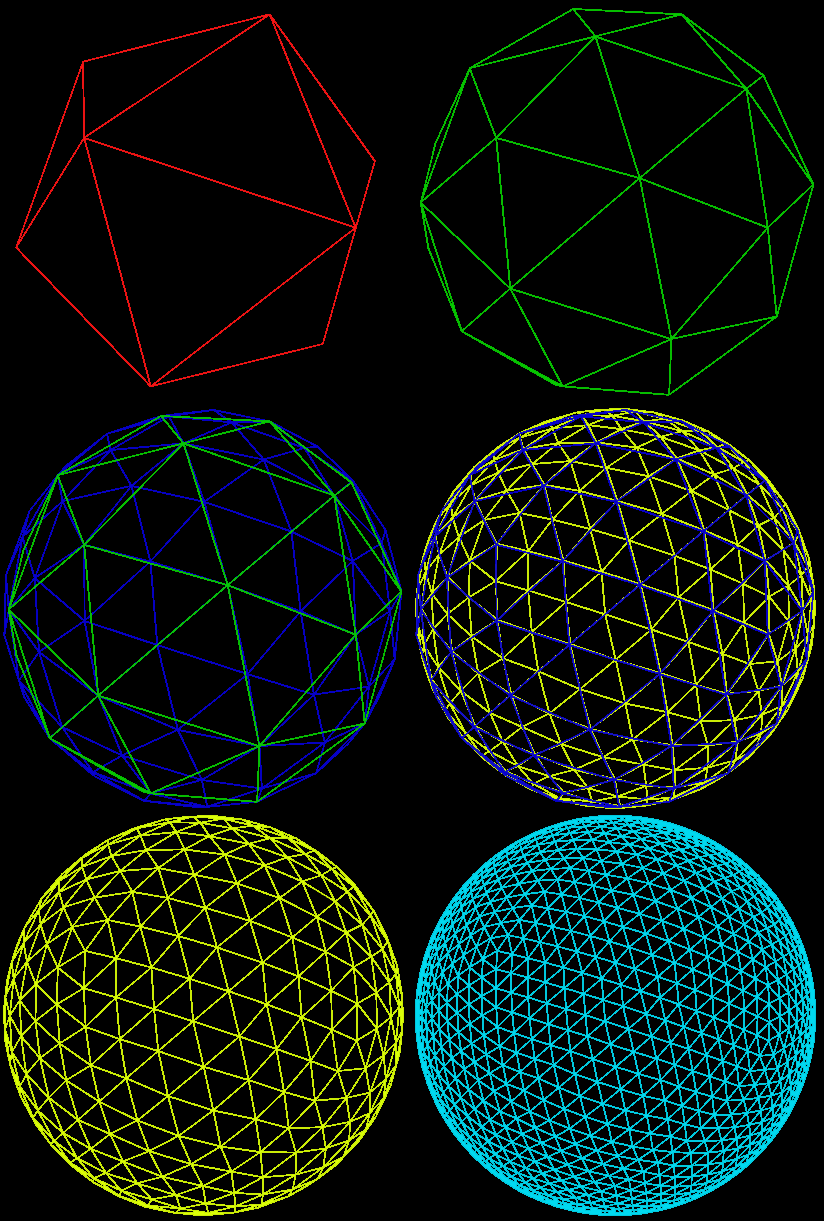
In this post I will explain how to build, subdivide and texture an icosahedron. Look at the ending of the post for eye candy.
So I’ve been following the development of Notch’s new game, 0x10^c, which is looking really exciting. When I saw a screenshot(Can’t find it now) I was reminded of something I read about using icosahedrons to make planets in 3D with minimal distortion when mapping to a texture.
I find this way of attacking the problem of spheres fascinating. Basically you start off with a 20 sided die and split the faces by adding new vertices on a sphere encapsulating the icosahedrons, so in each iteration you get closer to a perfect sphere. You split the faces by adding a point in the middle of each edge in a triangle, you then construct four new triangles using these and the original vertices.
